
 Bookmark
This Japanese katsu bowl has been my weeknight hero dish for introducing authentic Japanese flavors at home without requiring specialty ingredients or complicated techniques. The combination of crispy panko-coated cutlets with the tangy, slightly sweet tonkatsu sauce creates a perfectly balanced meal that satisfies every time.
I first made these katsu bowls after returning from a trip to Japan where I became obsessed with the perfect crunch of katsu. After several attempts at home, this version finally captured that authentic texture and flavor that transported me right back to a tiny restaurant in Tokyo.
Ingredients
- For the Katsu Boneless pork chops or chicken breasts thin and even thickness ensures perfect cooking
- Salt and pepper enhances the natural flavors of the meat
- All purpose flour creates the base layer for perfect breading adhesion
- Large egg beaten acts as the glue for the panko coating
- Panko breadcrumbs the key to authentic Japanese crispiness
- Vegetable oil for frying choose a neutral oil with high smoke point
- For the Tonkatsu Sauce Ketchup provides sweetness and tomato base
- Worcestershire sauce adds complex umami depth
- Soy sauce brings saltiness and authentic Japanese flavor
- Mirin traditional sweet rice wine for authentic taste
- Dijon mustard adds subtle tang and thickness
- Garlic powder infuses aromatic flavor throughout the sauce
- For the Bowl Japanese short grain rice sticky texture is perfect for catching sauce
- Shredded cabbage traditional fresh component that balances the fried katsu
- Green onion adds bright color and mild onion flavor
- Toasted sesame seeds optional garnish that adds nutty dimension
Step-by-Step Instructions
- Prepare the Meat
- Begin by placing your pork chops or chicken breasts between plastic wrap and gently pounding to an even 1/2 inch thickness. This ensures even cooking and maximum tenderness. Season both sides generously with salt and pepper allowing the seasoning to penetrate the meat while you prepare the breading station.
- Set Up Breading Station
- Arrange three shallow dishes in a row. Fill the first with flour seasoned with a pinch of salt and pepper. Pour the beaten egg into the second dish and whisk until smooth. Place the panko breadcrumbs in the third dish spreading them evenly. This organized setup makes the breading process efficient and less messy.
- Bread the Cutlets
- Take each seasoned cutlet and coat it thoroughly in flour shaking off any excess. Next dip it into the beaten egg ensuring complete coverage. Finally press it firmly into the panko breadcrumbs patting gently to help the crumbs adhere. For extra crispiness let the breaded cutlets rest for 5 minutes before frying allowing the coating to set.
- Fry to Golden Perfection
- Heat vegetable oil in a heavy skillet until it reaches 350°F. Test with a few breadcrumbs they should sizzle immediately but not burn. Carefully place the breaded cutlets into the hot oil without overcrowding the pan. Fry for 3 to 4 minutes per side until they develop a beautiful golden brown color and the internal temperature reaches 145°F for pork or 165°F for chicken.
- Make the Tonkatsu Sauce
- While the cutlets are frying combine all sauce ingredients in a small bowl. Whisk thoroughly until the mixture becomes smooth and glossy. The sauce should have a perfect balance of sweetness tanginess and savory depth. If too thick add a teaspoon of water. If too thin simmer gently for a minute to reduce slightly.
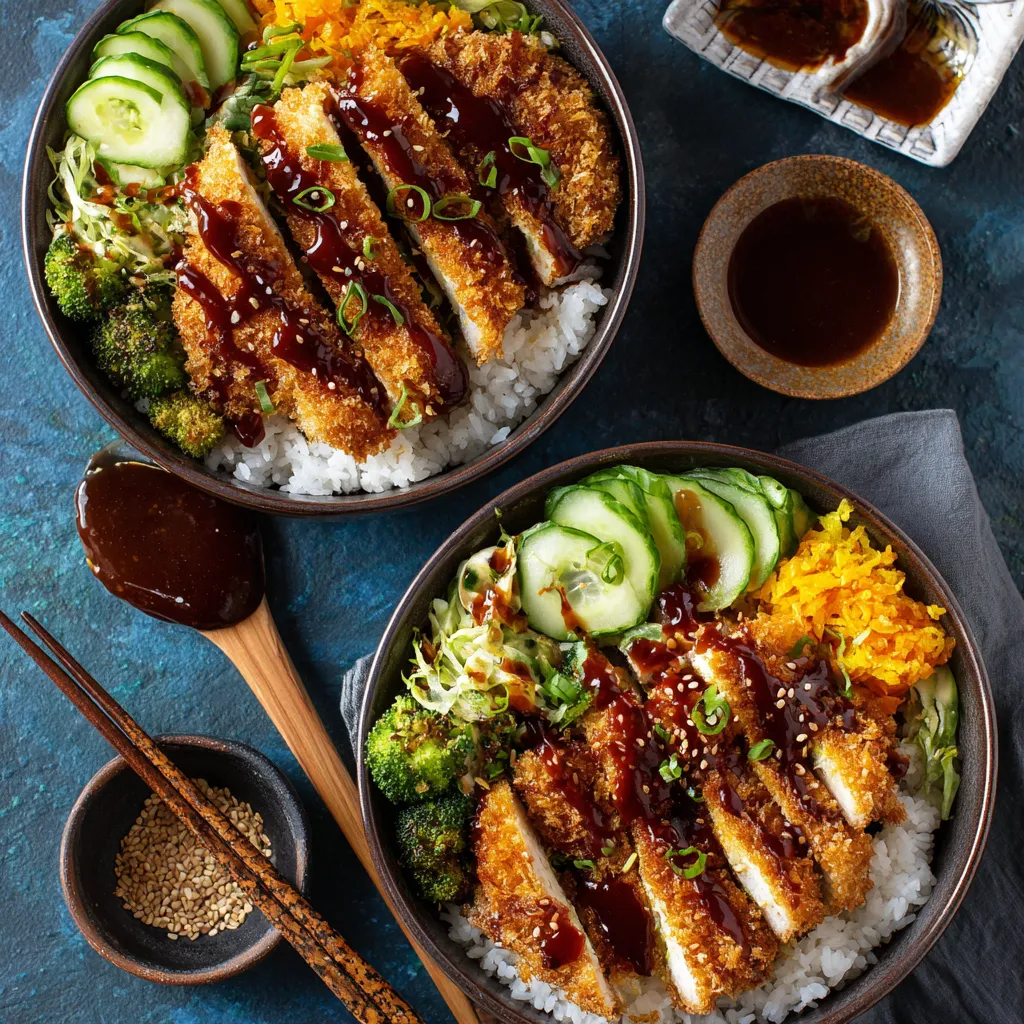
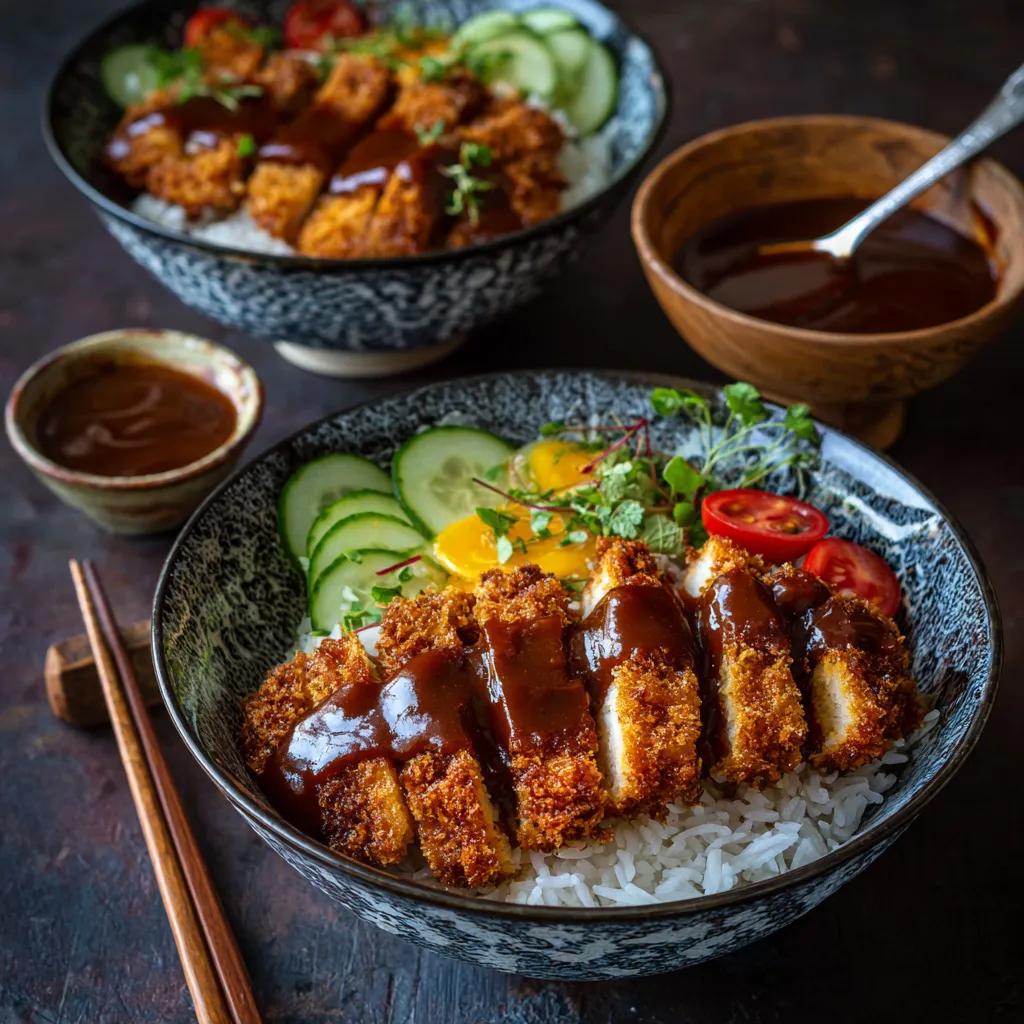
- Assemble Your Bowl
- Start with a base of freshly steamed rice molded into a neat mound. Slice the katsu into 3/4 inch strips cutting against the grain for tenderness. Arrange the strips attractively over the rice. Drizzle generously with tonkatsu sauce allowing it to cascade down the sides. Arrange shredded cabbage alongside garnish with sliced green onions and sprinkle with toasted sesame seeds if desired.
The tonkatsu sauce is truly the heart and soul of this dish for me. The first time I made it from scratch I was amazed at how simple pantry ingredients could transform into something so complex and addictive. My daughter now requests extra sauce on the side to dip everything from vegetables to other proteins throughout the week.
Perfect Rice Technique
Japanese short grain rice requires proper washing to remove excess starch which can make it gummy. Place the rice in a bowl and rinse with cold water gently rubbing the grains between your palms. Repeat until the water runs clear usually 3 to 4 rinses. Then use a 1 to 1.2 ratio of rice to water for perfectly fluffy rice that maintains its structure under the katsu. Let the cooked rice rest covered for 10 minutes before serving to allow the moisture to distribute evenly.
Storage and Reheating
Store any leftover components separately for best results. Keep the cooked katsu in an airtight container in the refrigerator for up to 2 days. The tonkatsu sauce will keep refrigerated for up to one week in a sealed container making it perfect for meal prep. Rice can be stored for 3 to 4 days. To reheat katsu place it on a wire rack over a baking sheet in a 350°F oven for 7 to 10 minutes to restore crispiness. Avoid microwave reheating which will make the coating soggy.
Variations and Substitutions
This versatile recipe welcomes creative adaptations. For a lighter version bake the breaded cutlets at 400°F for 20 minutes instead of frying turning halfway through. Those avoiding gluten can substitute rice flour and gluten free panko. For a vegetarian option use firm tofu pressed for 30 minutes then sliced into 1/2 inch steaks or try eggplant slices for a delicious twist. If mirin is unavailable substitute with 1 tablespoon honey mixed with 1 teaspoon rice vinegar to achieve a similar sweet tangy flavor profile.
Common Recipe Questions
- → Can I use chicken instead of pork for katsu?
Absolutely! Chicken breast or thigh meat works perfectly for katsu. Just ensure chicken is pounded to an even thickness (about ½-inch) and cook until the internal temperature reaches 165°F (74°C) for food safety. Chicken katsu offers a lighter alternative while still delivering that signature crispy exterior.
- → What's the best oil for frying katsu?
Neutral oils with high smoke points work best for frying katsu. Vegetable, canola, peanut, or rice bran oil are excellent choices. Maintain the oil temperature around 350°F (175°C) for optimal results - hot enough to crisp the coating without burning it, while thoroughly cooking the meat inside.
- → Can I make tonkatsu sauce in advance?
Yes! Homemade tonkatsu sauce can be made up to two weeks in advance and stored in an airtight container in the refrigerator. The flavors actually develop and meld together over time, making it even more delicious. Just give it a good stir before serving.
- → What sides pair well with katsu bowls?
Traditional accompaniments include shredded cabbage, pickled vegetables (like cucumber or daikon), miso soup, and Japanese potato salad. For a lighter meal, serve with a simple side salad dressed with rice vinegar and sesame oil. Edamame or gyoza (dumplings) also make excellent starters.
- → Is there a way to make katsu without deep frying?
Yes, you can prepare a healthier version by oven-baking or air-frying. For oven-baking, spray the breaded cutlets with cooking oil and bake at 400°F (200°C) for about 20-25 minutes, flipping halfway. In an air fryer, cook at 375°F (190°C) for 12-15 minutes, also flipping halfway. While slightly less crispy than traditional methods, these alternatives still deliver delicious results with significantly less oil.
- → What can I substitute for panko breadcrumbs?
While panko creates the signature light, airy crunch of katsu, regular breadcrumbs can work in a pinch. For a gluten-free option, try crushed rice cereal, crushed cornflakes, or gluten-free breadcrumbs. You can also make your own panko by processing day-old white bread into coarse crumbs and drying them in a low-temperature oven until crisp.