
 Bookmark
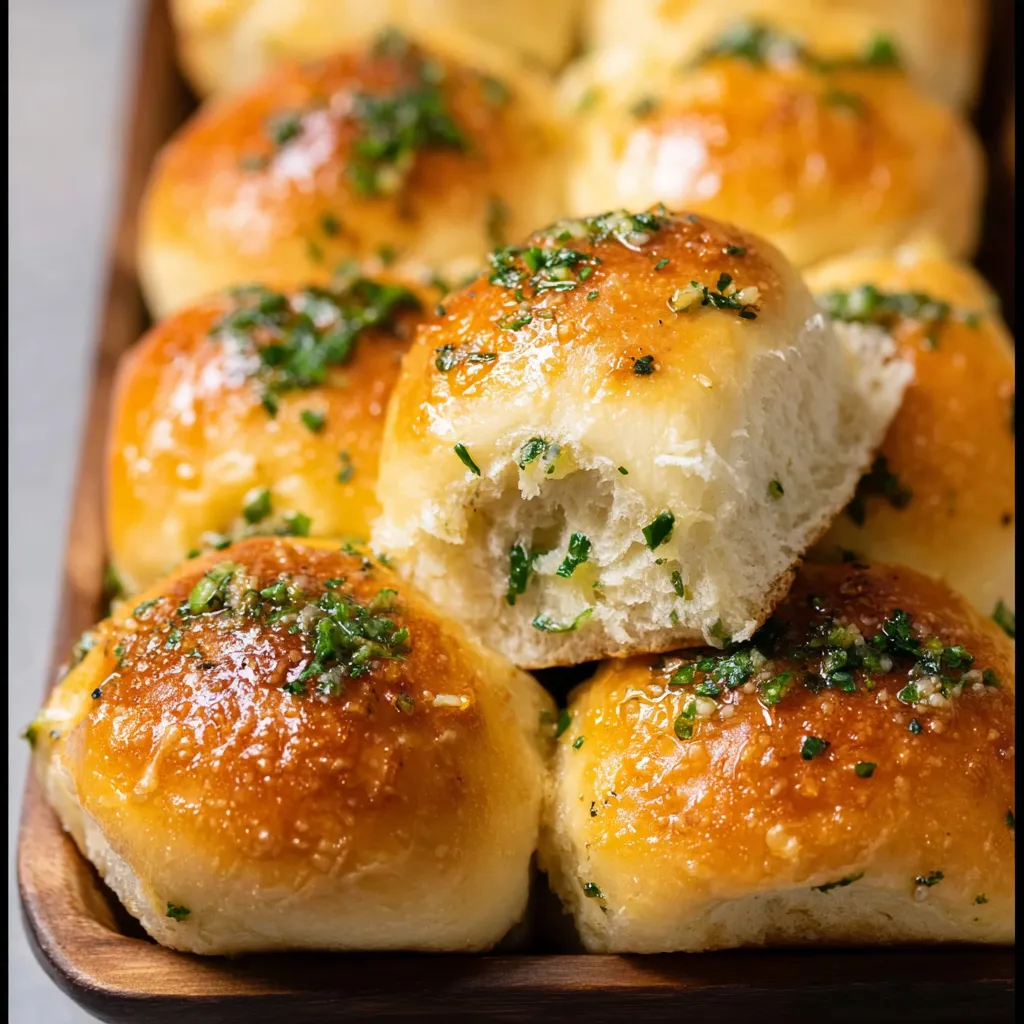
These homemade garlic butter dinner rolls transform ordinary meals into special occasions with their soft, pillowy texture and irresistible aroma. They've become my signature contribution to family gatherings where the basket empties faster than any other dish on the table.
I first made these rolls for Christmas dinner three years ago, and now my family insists I bring them to every gathering. Even my nephew who claims to hate garlic devours these without hesitation.
Ingredients
- All purpose flour creates the perfect tender structure without being too heavy
- Active dry yeast provides reliable rise every time
- Warm milk activates the yeast and adds richness to the dough
- Granulated sugar feeds the yeast and adds subtle sweetness
- Unsalted butter enriches the dough for that melt in your mouth quality
- Egg contributes to the golden color and soft texture
- Salt enhances all flavors and controls yeast activity
- Fresh garlic cloves deliver more vibrant flavor than pre minced options
- Fresh parsley adds color and brightness to the butter topping
Step-by-Step Instructions
- Activate the Yeast
- Combine warm milk (should feel like bath water at 110°F), sugar, and yeast in a large bowl and let rest for 5 to 10 minutes until it becomes foamy and fragrant. This ensures your yeast is alive and ready to work its magic.
- Make the Dough
- Add melted butter (cooled slightly so it doesn't kill the yeast), egg, and salt to your foamy yeast mixture and stir until combined. Gradually incorporate flour one cup at a time, mixing until a shaggy dough forms. Turn onto a floured surface and knead for a full 6 to 8 minutes, pushing and folding until the dough becomes smooth, elastic, and springs back when touched.
- First Rise
- Place your dough in a greased bowl that allows room for expansion, cover with a damp kitchen towel or plastic wrap, and position in a warm, draft free spot. Let rise for a full hour until doubled in size. My favorite spot is inside the oven with just the light turned on.
- Shape the Rolls
- Gently punch down the risen dough to release air bubbles. Divide into 12 equal portions by cutting the dough in half, then each half into halves, and finally each quarter into thirds. Roll each piece between your palms to form smooth balls, tucking edges underneath. Arrange in a greased 9x13 baking dish with a small gap between each roll.
- Second Rise
- Cover your shaped rolls and let rise for 30 minutes until visibly puffed. They should expand to touch each other slightly. During this time, preheat your oven to 375°F so it's ready when your rolls are.
- Bake
- Place the rolls in the center rack of your preheated oven and bake for 18 to 20 minutes until the tops turn a beautiful golden brown. The internal temperature should reach about 190°F if you have a thermometer.
- Make Garlic Butter
- While the rolls bake, prepare your topping by melting butter in a small saucepan over medium low heat. Add minced garlic and cook for just 30 seconds until fragrant but not browned. Remove from heat, add a pinch of salt and stir in fresh parsley.
- Brush and Serve
- As soon as the rolls come out of the oven, brush generously with your garlic butter mixture, making sure to get some garlic bits on each roll. The hot rolls will absorb the butter beautifully. Serve while still warm for the ultimate experience.

I consider the garlic butter the crown jewel of this recipe. After experimenting with countless variations, I discovered that briefly cooking the minced garlic in butter before brushing creates the perfect balance of flavor without the harshness of raw garlic. This technique came from my grandmother who insisted garlic should always be cooked to bring out its sweetness.
Make Ahead Options
These rolls can be partially prepared in advance to save time on busy days. Complete the recipe through shaping the rolls, then cover tightly and refrigerate overnight. The next day, remove from the refrigerator and allow to come to room temperature and complete their second rise (about 1 hour) before baking. The cold retardation actually improves flavor development in the dough.
Storage Tips
Store completely cooled rolls in an airtight container at room temperature for up to 3 days. For longer storage, freeze unbaked rolls after shaping by placing them on a baking sheet until solid, then transfer to freezer bags for up to 1 month. Thaw overnight in the refrigerator, allow to complete their second rise, and bake as directed.
Troubleshooting Common Issues
If your dough isn't rising properly, your kitchen may be too cold. Create a warm environment by placing the covered dough near a preheating oven or in an oven with just the light turned on. Proper yeast activation is crucial, so ensure your milk is warm (110°F) but not hot, which would kill the yeast.
Serving Suggestions
These garlic butter rolls pair beautifully with pasta dishes, soups, and holiday meals. For an extra special touch, serve with additional room temperature butter or a small bowl of seasoned olive oil for dipping. They make a wonderful accompaniment to roasted meats where they can soak up delicious juices on the plate.
Common Recipe Questions
- → Can I make these rolls ahead of time?
Yes! You can prepare the dough through the first rise, then shape the rolls and refrigerate overnight. The next day, allow them to come to room temperature for about 30 minutes before baking. You can also fully bake the rolls, cool completely, and freeze for up to 3 months. Reheat wrapped in foil at 300°F until warm.
- → Can I use instant yeast instead of active dry yeast?
Absolutely! If using instant yeast, you can skip the activation step and mix it directly with the dry ingredients. Reduce the amount to 1¾ teaspoons (still one packet) and proceed with the recipe as written.
- → How do I know when my dough has risen enough?
The dough should approximately double in size during the first rise. A simple test is to gently press your finger about ½ inch into the dough - if the indentation remains, the dough has risen sufficiently. During the second rise, the rolls should look noticeably puffy and be touching each other in the pan.
- → Why didn't my rolls turn out soft and fluffy?
Several factors can affect texture: over-kneading toughens rolls, while under-kneading results in dense texture. Using too much flour makes rolls heavy. Rising time matters - insufficient rise creates dense rolls, while over-rising causes collapse during baking. Finally, overbaking dries them out, so remove from the oven when just golden brown.
- → Can I add other flavors to the garlic butter?
Definitely! The garlic butter is customizable to your taste preferences. Try adding grated Parmesan cheese, Italian seasoning, fresh herbs like thyme or rosemary, a pinch of red pepper flakes for heat, or even a drizzle of honey for sweet-savory rolls. Just mix your additions into the melted butter before brushing.
- → How should I store leftover rolls?
Store completely cooled rolls in an airtight container at room temperature for up to 3 days. To refresh, wrap in foil and warm in a 300°F oven for 5-10 minutes. For longer storage, freeze in a freezer-safe bag for up to 3 months and reheat from frozen, wrapped in foil, at 300°F for about 15 minutes.